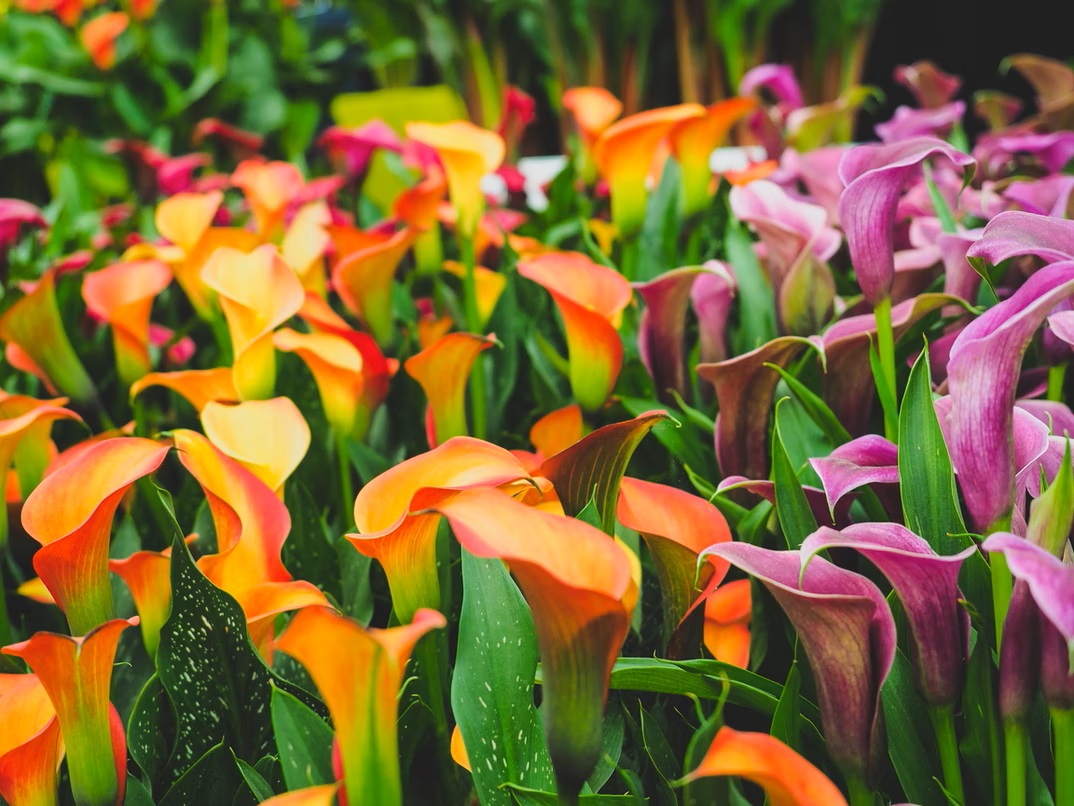
How to Grow and Care for Calla Lilies?
About Calla Lilies
Calla Lilies are a type of ornamental plant that is popular in gardens and as cut flowers. While they are native to regions of South Africa, they have been cultivated for centuries and can now be found growing in gardens and greenhouses all over the world.
The Calla Lily belongs to a broader family of plants called Araceae, which includes many other flowering plants such as philodendron, anthurium, peace lily, and pothos. While calla lilies are not technically true lilies (Lilium), their funnel-shaped flowers inspired the name.
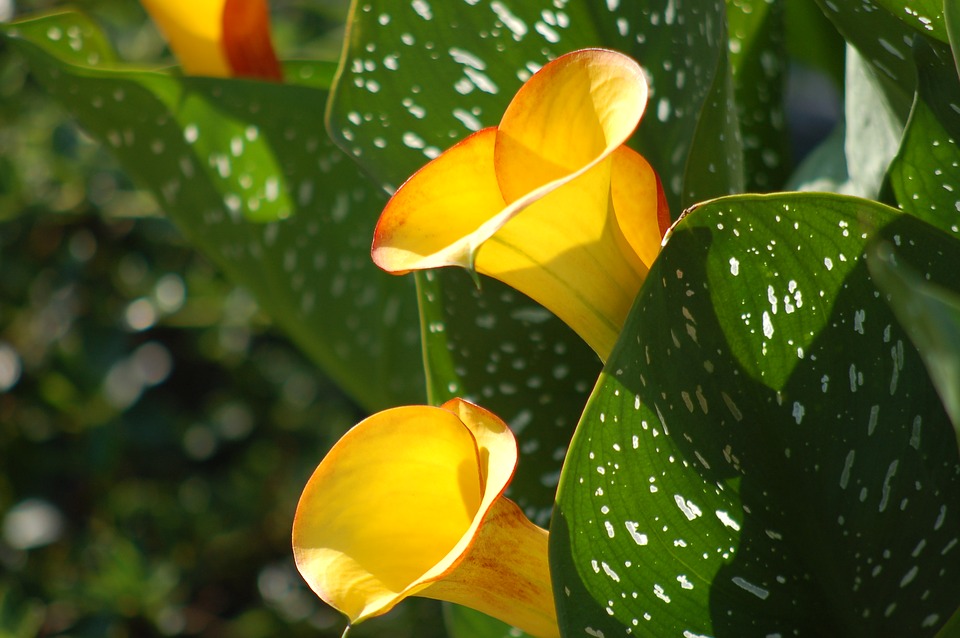
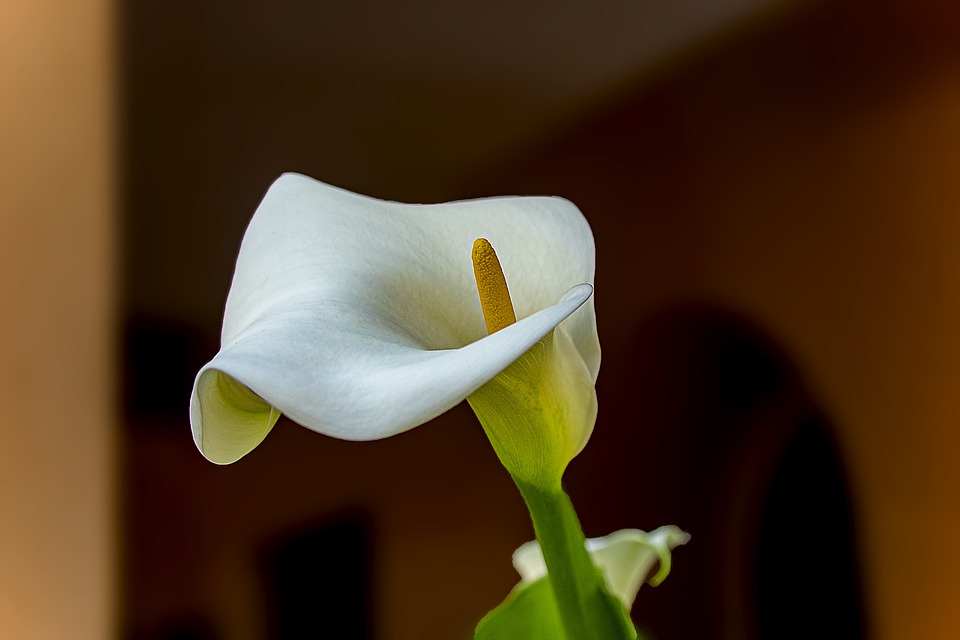
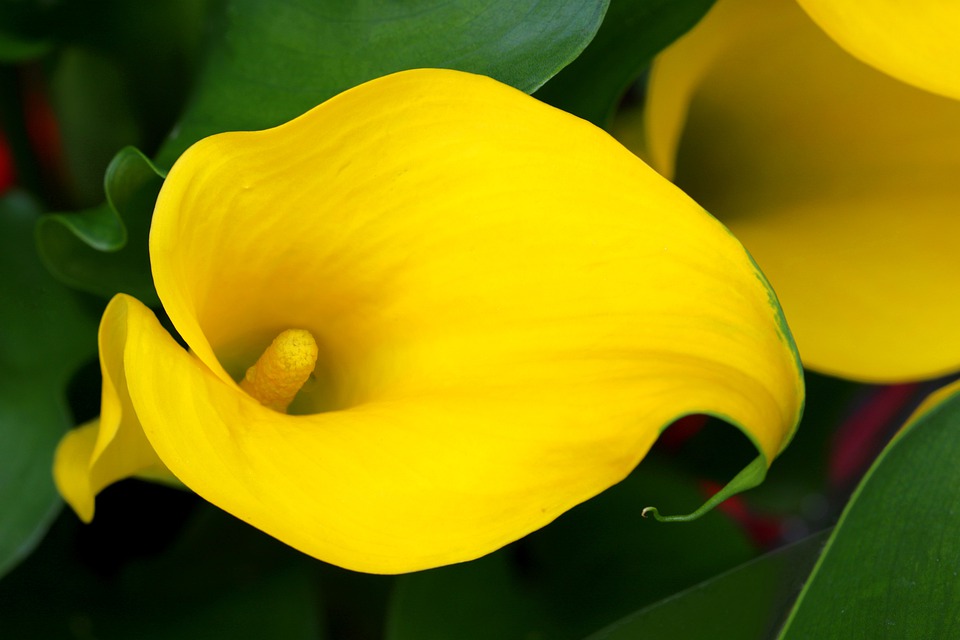
In springtime, Calla Lilies produce large leaves that form clumps of basal rosettes. As the season progresses into summer, tall flowering stems will emerge from the rosette and bloom with white or yellow flowers. The most common species has pure white flowers while other varieties may have spotted petals or orange anthers.
Why Every Gardener Should Have Calla Lilies:
When you think of the calla lily, you probably think of weddings or funerals. But this zantedeschia is so much more than a pretty flower—it’s a plant that can help protect your home from common household pests like ants, roaches, and fleas. Calla lilies are poisonous to many insects and rodents. To repel them from your home, you can either grow the plant outdoors in a pot or keep it indoors in a vase with water and place it on a countertop. You can even use the leaves as an organic cleaning agent, just like lemon juice!

In addition to protecting your house from ants, calla lilies are great for making bouquets because they have such big blooms on them. They’re also perfect for any occasion—whether it’s a wedding or funeral!
Growing Calla Lilies
Calla Lilies are easy to grow, but they also require a lot of TLC to bring you years of enjoyment and beauty. Here are some tips for making sure your Calla Lilies thrive!
1. Make sure you’re planting in the right season. Depending on what part of the country you live in, you’ll want to plant either in late winter or early spring.
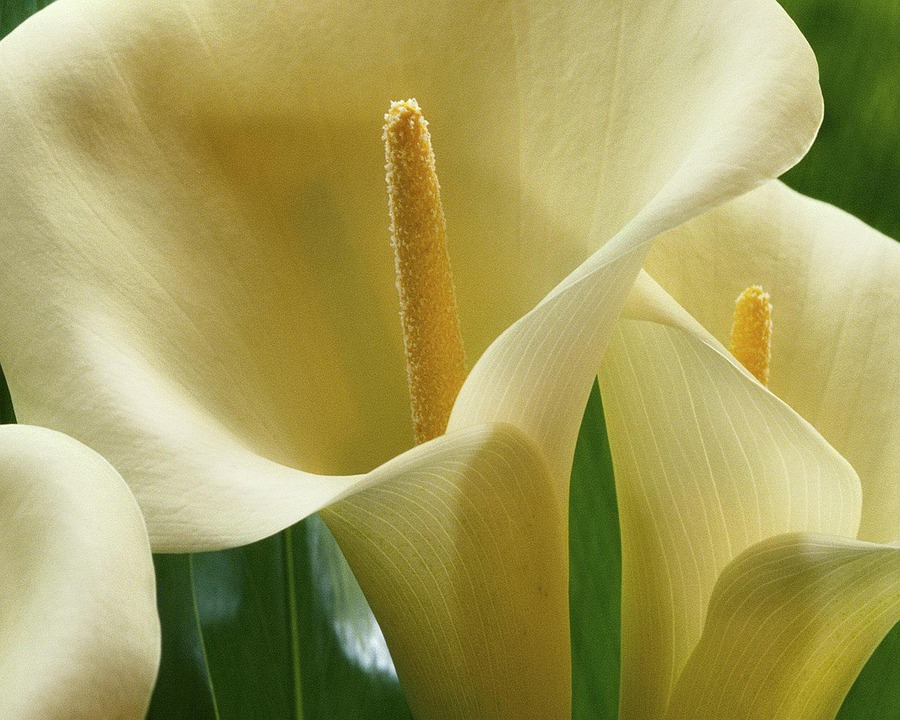
2. Dig a hole that’s about 1 foot deep, and then place the rhizome inside with the roots facing down. Don’t worry if it’s covered with soil, as long as the leaves are above ground level.
3. Water well after planting, and then keep the soil moist! Calla Lilies need lots of water to grow properly—don’t be stingy!
4. Fertilize every two weeks until late summer. It’ll help them grow big and strong!
5. In late fall, once the leaves start wilting, dig up your bulbs to store them inside over winter! They won’t make it through if you leave them outside 🙂
Caring Calla Lilies
There are a lot of plants you can grow in your home, but Calla Lilies are one of the most gorgeous. They’re beautiful and low-maintenance, so they’re a great choice if you want to liven up your home without having to worry about things like remembering to water the plant.
Light
Calla lilies require at least 6 hours of direct sunlight each day, but they can tolerate more. If you have a calla lily in a pot, rotate the pot daily to ensure the plant receives an even amount of sunlight.
Water
Calla lilies do well with regular watering, but they may wilt if they are over-watered. Water the plant whenever the top half-inch of soil is dry to the touch and avoid watering it again until that section is dry once more.
Soil
When planting calla lilies, use a soil mixture that drains well, such as a mix of one part peat moss and two parts sand.
Temperature and Humidity
Calla Lilies thrive in a temperature range of between 55°F and 75°F. They can survive in temperatures above 75°F, but they will not bloom when exposed to heat. These plants are hardy to USDA Zone 9, so they cannot be grown outside year-round in colder climates. A minimum relative humidity of 40 percent is required to encourage the proper blooming of calla lilies for most varieties.

Propagating Calla Lilies
Propagating Calla Lilies is easy and simple. All you need are a few basic supplies, and patience!
To propagate a Calla Lily:
Find a mature plant
Choose one that has at least two or three leaves, and make sure you cut off any dead or damaged leaves before propagating the plant.
Prepare your cutting
You’ll want to cut the plant just below a leaf node, and if you’re cutting more than one shoot from the same plant, try to use a separate container for each shoot. The containers should be about 4 inches deep and filled with potting soil that drains well.

Plant your cutting
Place the cutting into the soil half an inch deep, making sure there are no air pockets around the roots of the cutting. Water your plants liberally but not so much that they are sitting in water.
Water regularly
Water your cuttings every day or two until they begin to grow new roots and leaves. Keep them in a shady area while they are growing roots—they don’t need much light at this stage.
Pest and Disease Control
When you have Calla Lilly plants, it’s important to take proper care of them and make sure they don’t get infested with pests or diseases. As with many plants, Calla Lilies are quite hardy and can withstand a variety of conditions. But this doesn’t mean that they don’t need a little help from their owners now and then!
The first thing to do when you notice an infestation or disease on your plant is to identify what it is. Then you can use the appropriate treatment method to help your plant.
Some common pests that affect calla lilies include slugs and snails, which will chew holes in the leaves of the plant. Aphids are another pest that can harm calla lilies, causing leaves to curl or become discolored by sucking out all the chlorophyll from them. To treat these pests, try spraying your plants with some insecticidal soap or neem oil. Either of these methods should get rid of any unwanted visitors to your plants quickly!
Leaf brown or rust spots are caused by a fungus called “leaf spot,” which is very common on plants and can disturb Calla Lilies as they grow. Once the disease has begun, the leaves will start to change color from green to brown and then finally red.

There are several things you can do to prevent leaf-brown or rust spots from occurring in your plants:
- Remove infected leaves as soon as you notice them so that the fungus cannot spread to other leaves.
- Use a fungicide spray every two weeks on your plants and apply it directly onto the leaves with a cotton swab.
- Make sure there are no insects around your plant because they can carry this disease from one plant to another.

