How to Grow and Care for Cannas?
About Cannas
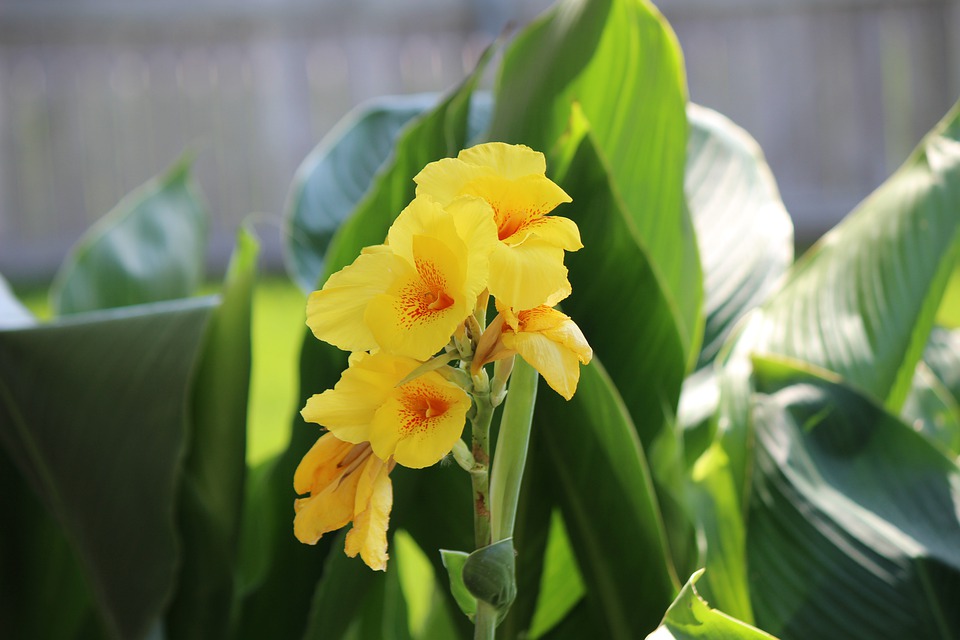
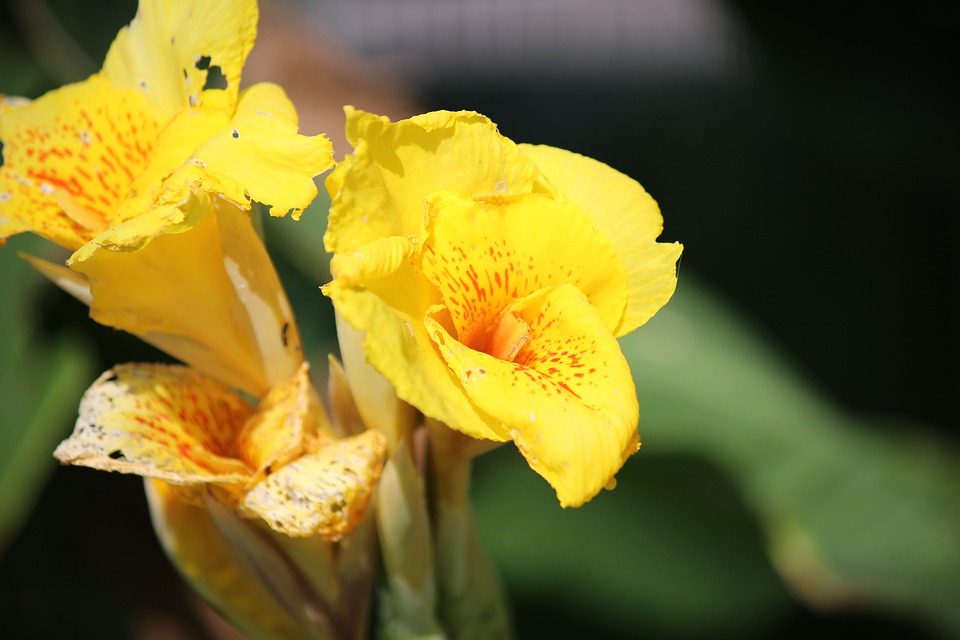
Canna, commonly called canna lily, is a genus of 10 species of flowering plants. The closest living relations to cannas are the other plant families of the order Zingiberales, that is the gingers, bananas, mantas, heliconias, and strelitzias. Canna is the only genus in the family Cannaceae.
Cannas are not true lilies (members of the family Liliaceae). True lilies have flowers with six tepals; cannas normally have large and showy but slightly irregular flowers with three petals and three sepals.
The Canna plant has large, attractive foliage and horticulturists have turned it into a large-flowered plant in bright colors. It is native to the New World tropics from Mexico to Brazil. Its garden use was first recorded in 1605 in Italy and it has been grown there ever since for ornamental purposes. It is also cultivated as a food crop in some parts of India.
- The rhizome of the canna plant is edible.
- The leaves of the plant have a fiber that works well for making rope and cloth.
- Cannas are also a good source of pollen for beekeepers because their flowers produce it in abundance, according to “Grow It! Eat It!” by Joy Larkcom.
- Medicinal Use: Cannas are used to treat menstrual pain. Its roots can also be used to treat amenorrhea and gonorrhea.
Growing Cannas
Cannas are tropical and tender perennials, but they can be grown as annuals in cooler climates. They are usually planted from rhizomes or tubers. Canna plants are considered to be moderate feeders, needing fertilization every three to four weeks during the growing season.
- Choose a planting site that has full sun or partial shade with well-draining soil. If you choose a shady location, plant them where they will receive morning sun and afternoon shade.
- Dig holes that are twice as wide as the rhizomes and slightly deeper than their height; bury the rhizome so its top is level with the surrounding soil. Water thoroughly after planting and then keep the soil moist until they start growing.
- Spread a 2-inch layer of mulch around the cannas to help retain moisture in the soil; leave 3 inches between the mulch and stem or foliage base of each plant to prevent rotting caused by too much water.

Caring Cannas
Cannas are a wonderful addition to any garden. The bright blooms and large foliage look spectacular planted in wide rows or in a container by the pool. Cannas are also easy to grow, requiring only minimal care.
Right Light
While cannas can be grown in full sun, they do better with partial shade, particularly in the afternoon hours. In the hot sun, they tend to burn at the edges of their leaves and the color may fade from the blooms. Too much shade will cause them to get tall and spindly or to fail to flower at all.
Rich Soil
Rich, loamy soil is best for growing cannas. You can amend your soil by mixing in composted manure or other organic matter when planting your cannas.
Enough Water
They need plenty of water to help them grow quickly and produce lush foliage and brilliant flowers. If you live in an area where the climate is dry, you will need to water them often during the summer months if you want them to flourish throughout their growing season.
Tropical Temperature and Humidity
Canna plants love warm weather, so give them a warm location outdoors or in a greenhouse in summer. In winter, move them somewhere cooler (60-65°F/16-18°C), and cut back on watering as well. Avoid placing cannas where they will get cold drafts from doors or windows. Canna plants also like humidity, so give them a misting once in a while, especially if you keep them indoors over the winter.
Half-Strength Fertilizer
Cannas are heavy feeders, so it is important to fertilize often. If you are using a slow-release fertilizer, one application will likely last the entire season. If using a liquid fertilizer, use it once a month or every two weeks during the growing season.
Propagating Cannas
1. Dig up the rhizomes of an established canna plant in the fall. Wash away any soil clinging to the roots. Cut healthy rhizomes away from those that are soft or browned, keeping only the best sections. Allow the pieces to sit overnight before replanting.
2. Fill a large pot with a mixture of 2 parts potting soil and 1 part perlite. Push several canna rhizomes into the soil so they are completely covered with soil but not buried too deeply.
3. Place the pot in an area that will stay warm (at least 60 degrees Fahrenheit) for the winter months, such as on top of the refrigerator or on a warm greenhouse bench.
4. Water regularly to keep the soil moist but not soggy until spring arrives and growth begins again.
Pest and Disease Control
Canna is a relatively trouble-free plant. It is rarely bothered by pests and diseases, but there are a few that you should keep an eye out for.
Spider mites and thrips can be kept under control with regular sprays of water, or insecticidal soap.
Corn earworms, slugs, and snails can be controlled with traps, baits, and handpicking.
Viruses are the biggest threat to cannas. If you notice yellowing foliage or stunted growth this could be an indication of virus infection. If this occurs remove the infected plants immediately to prevent them from spreading further.
Aphids may be present on cannas, particularly during late summer and autumn. They cluster on the underside of leaves, where they suck sap from plant tissue. If you notice any signs of aphid infestation on your plants, check the undersides of leaves regularly. To remove aphids from plants, spray them off using a high-pressure hose or wash them off with insecticidal soap or neem oil. You can also try introducing beneficial insects such as lacewings or ladybirds into your garden to help control aphid populations.