HOW TO BOTTOM WATER PLANTS CORRECTLY?
If you want to know how to bottom water plants correctly, you’re in the right place. Today I’m going to show you exactly how to do it. Having your plants survive in a low amount of water is fantastic because it allows you to put more money into other aspects of their growth and development, which is excellent.
The bottom watering method is a great way to give your plants the water they need without the risk of over-watering. If you’re already bottom watering or are considering it, here are some helpful tips to make it as easy and effective as possible!
What Plants To Bottom Water
The good news is that you have options. If you want to avoid damaging any of your plants with overwatering, or if you’ve already made a mistake and are suffering from root rot, bottom watering can effectively water your plants and bring them back to life. You don’t have to be an expert gardener or plant owner; all it takes is a little bit of research.
There are several types of plants that significantly benefit from bottom watering:
- Plants susceptible to root rot who don’t need as much water in the first place but would particularly benefit from a break from frequent watering on top
- Plants with fuzzy leaves or curly leaves tend to hold onto more water than other types of plants
- Plants with a single stem, crowned by one big leaf at the top (the crown) – these types of plants will almost always benefit from being watered at the bottom rather than at the top.
- Any plant that has been overwatered (which is pretty much every plant ever) should be watered at the base rather than on top until they recover.
What You Will Need To Bottom Water
Bottom watering is not the easiest thing in the world, but it can be easy if you have the right stuff. The following are what you need to start watering your plants from the bottom:
Bottom watering is not the easiest thing, but it can be easy if you have the right things. The first thing you need is a tray. A good tray has holes in the bottom to let water out. If it has no holes, it will hold water, and you will possibly drown your plants. Most trays are made of plastic and are black, which blocks light from getting to the roots.
Another thing you will need is a saucer or some container that fits into your pot. This can be anything that holds water, anything at all. It can even be a bowl or cup as long as it fits into your pot and is large enough to control the amount of water your plant needs. A water container should have an easy way to fill and empty it without spilling.
The last thing you need is a catchment tray made of plastic with no holes. You place this inside your pot on top of the soil and put your plant’s roots down into the saucer, and then you fill-up the saucer with water until it spills over into the catchment tray below the soil line. This can be tricky, so be careful not to spill dirt into your saucer and make sure there are holes in the bottom of your pot.
The following are optional, and you only need one:
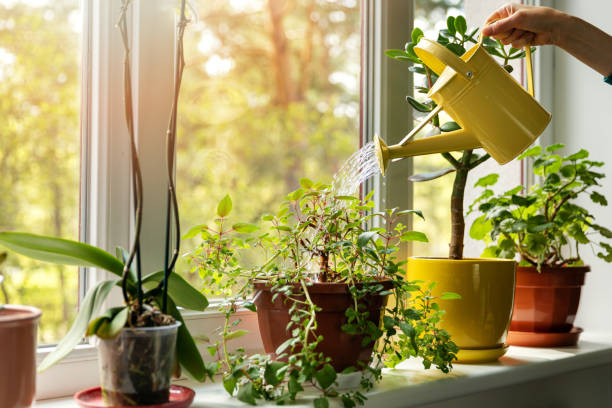
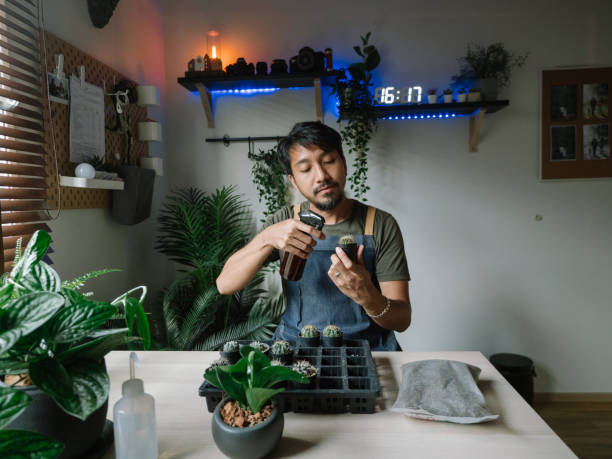
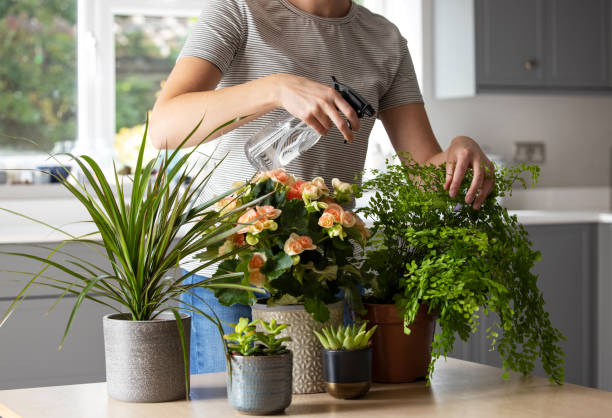
- A watering can (preferably the type with a long spout)
- A spray bottle
- A hose with a watering wand attachment or a watering wand itself
You may also want to have the following on hand:
- A power drill (optional)
- A funnel (optional)
If you don’t have any of these things, you can use an item from the following list:
- Chopsticks/skewers/popsicle sticks/pencils etc.
Steps For Bottom Watering
Bottom watering is a great way to make sure your plants are getting what they need and that you’re not drowning them in the process. To bottom water correctly, follow these steps:
- First, check the plant’s soil. If it’s wet on top, leave it be–it doesn’t need to be watered again yet. If the soil is dry on top but feels moister, about 1-2 inches down (by using your finger or a wooden chopstick to test), your plant needs watering!
- Make sure your plant’s pot has drainage holes at the bottom, so that excess water can escape and prevent root rot. If there aren’t any holes in your pot, move the plant into one with drainage holes.
- Place the soil surface of your thirsty houseplant into a saucer or tray filled with water until it is at least 2 inches deep all around. How long you leave it soaking depends on how big the container is–for pots smaller than 4 inches in diameter, 10 minutes should suffice; for larger containers, 15-20 minutes should do it; and if you have an extra-large planter (over 20 inches), go ahead and soak for 30 minutes and then drain out any remaining water from the saucer.
Remember That Not All Plants Can Be Watered This Way
Now that you’ve learned the basics of bottom watering, it’s essential to review what you need to remember before you begin. Not all plants will appreciate being watered this way:
- Plants with thick roots are best suited for bottom watering. If a plant has thin roots, it’ll be challenging to keep the soil from drying out too fast.
- Plants with hairy roots or fleshy (succulent-like) roots are not good candidates for bottom watering. The moisture can lead to rot and death if these types of plants have wet feet for too long.
- For best results, only bottom water plants have been shown to tolerate this method for an extended period of time. Orchids, which require certain moisture levels depending on their type and stage in life, are one exception—they don’t do well when sitting in water at any point in their growth cycle.
To sum up, there are many proven benefits of bottom watering and the cons of top watering. If you follow these guidelines then bottom watering will help your plants grow healthy and strong.